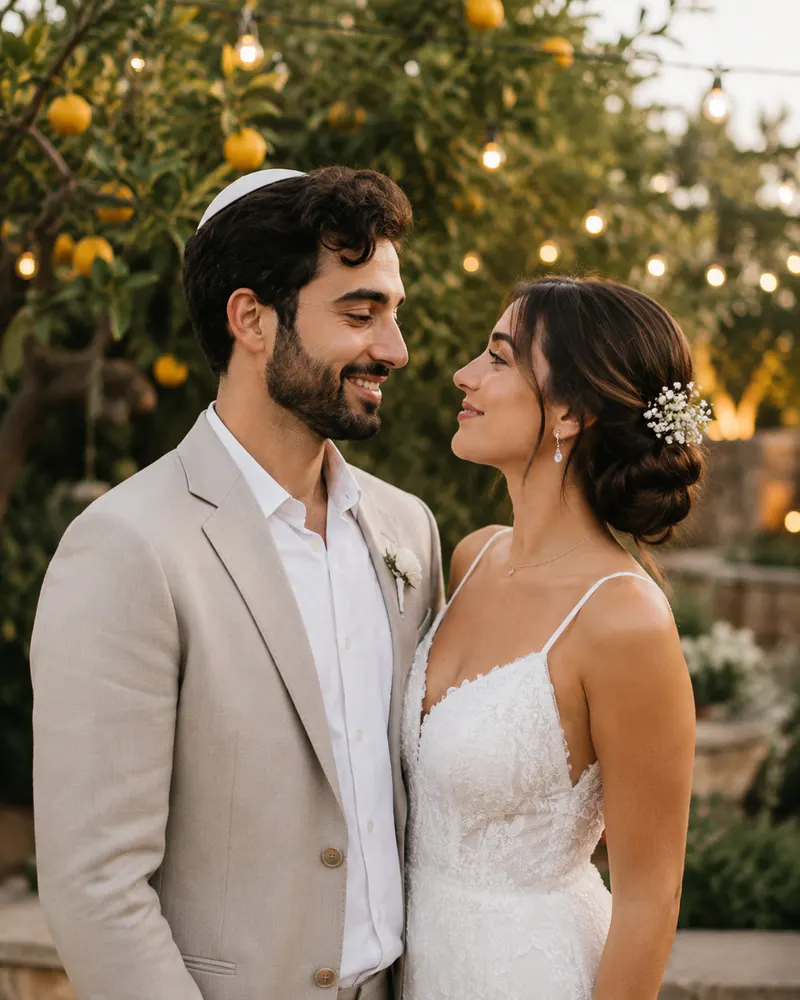

Planning a wedding can feel like a huge project that arrives with no instructions. The truth is that once you break it into a clear month-by-month timeline, everything becomes far calmer. This checklist is built specifically for a wedding in Israel, from 12 months out to the day itself, so you always know the next step instead of scrambling at the last minute.
12 to 10 Months Before: The Foundation
Every wedding rests on a few big decisions that shape everything else.
- Set an initial budget and a rough split between venue, catering, photography and music.
- Lock in an approximate guest list, since the number directly affects which venue fits.
- Book the venue or event garden. This is the step that fixes your date, and sought-after spots get reserved a year ahead.
- Choose your key vendors: photographer, DJ or band, and designer.
Tip: a venue deposit in Israel usually runs between ₪5,000 and ₪15,000, so set it aside in advance.
8 to 6 Months Before: Save-the-Dates and Vendors
Now that the date is locked, it is time to tell your guests and tie up the remaining details.
- Send save-the-dates, especially to guests abroad or anyone who needs to arrange time off. If you are unsure exactly when, our save-the-date guide helps you time it well.
- Confirm your caterer and menu, including a tasting.
- Start thinking about the invitation design and the visual concept for the event.
- Order the dress and suit, since tailoring and fittings take months.
A sample WhatsApp save-the-date: “Save the date! Noa and Yonatan are getting married on 14 August 2026. A formal invitation with all the details will follow. We can’t wait to celebrate with you.”
4 to 3 Months Before: Invitations and Details
This is the stage where the wedding starts to feel real, and the invitation becomes your main tool for coordinating with guests.
- Order your digital invitation. A good one includes a built-in RSVP, a Waze or Google Maps navigation button, and an add-to-calendar button. If you are weighing digital against paper, our full guide to digital wedding invitations covers the advantages in depth.
- Confirm the florals, table layout and décor.
- Arrange shuttle transport if the venue is out of town.
- Choose the rings and any jewelry.
6 to 4 Weeks Before: Sending the Invitations
Now comes the moment you send the formal invitation. Timing here is critical: too early and guests forget, too late and there is no time to collect replies. To understand the exact window, we wrote about when to send wedding invitations.
- Send the digital invitation on WhatsApp to your entire guest list.
- Ask for RSVPs directly through the invitation, so the system gathers every reply in one place.
- If you collect a contribution, note that guests can pay by Bit or PayBox on the night.
- Track who hasn’t replied, and send a gentle reminder about two weeks after sending.
2 Weeks to the Day: Tying Up Loose Ends
The final two weeks are about organization, not big decisions.
- Give the caterer a final headcount based on your confirmed RSVPs.
- Finalize the seating plan according to those numbers.
- Confirm arrival times with every vendor: photographer, DJ, makeup and hair.
- Pack a wedding-day bag with documents, rings and small essentials.
On the day itself, let your team and vendors do their work, and simply enjoy it. Everything you planned over the past months exists to serve this single moment.
Ready to begin with the step that organizes everything else? Pick the package that fits you and we’ll continue together on WhatsApp to design an invitation that gathers RSVPs, navigation and add-to-calendar in one place.